How To Dial In Your Espresso Grinder
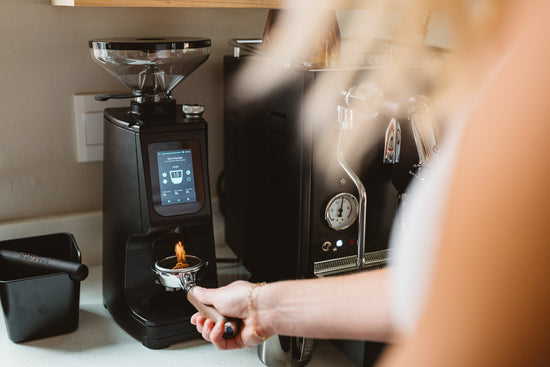
This handy dial-in guide will help build your espresso chops, help you learn and grow with your new grinder, and keep it running well into the future. Some grinders are preset from the factory a bit too fine or too coarse, which may mean that no grounds come out or your shots will pull extremely fast. But don't worry—we’re here to help assuage those growing pains and make the learning curve a little easier. And if your grinder hasn't shipped yet, remember that you can add on the Clive Grinder Dial-In Service, and we'll take care of all this for you. Are you still having dial-in issues? Please give us a call or chat with us on our website; we have a roster packed with industry experts ready to coach you through the process.
Plan to invest an entire bag of freshly roasted coffee learning how to dial in your grinder, but ultimately, the goal is to help you minimize waste in the long run and give you strategies to troubleshoot. Also, remember that your grinder will perform more consistently after the burrs are seasoned and broken in, which typically takes around 3-5 lbs of coffee.
Step 1: Choosing your method of dose, eliminating the variable of quantity
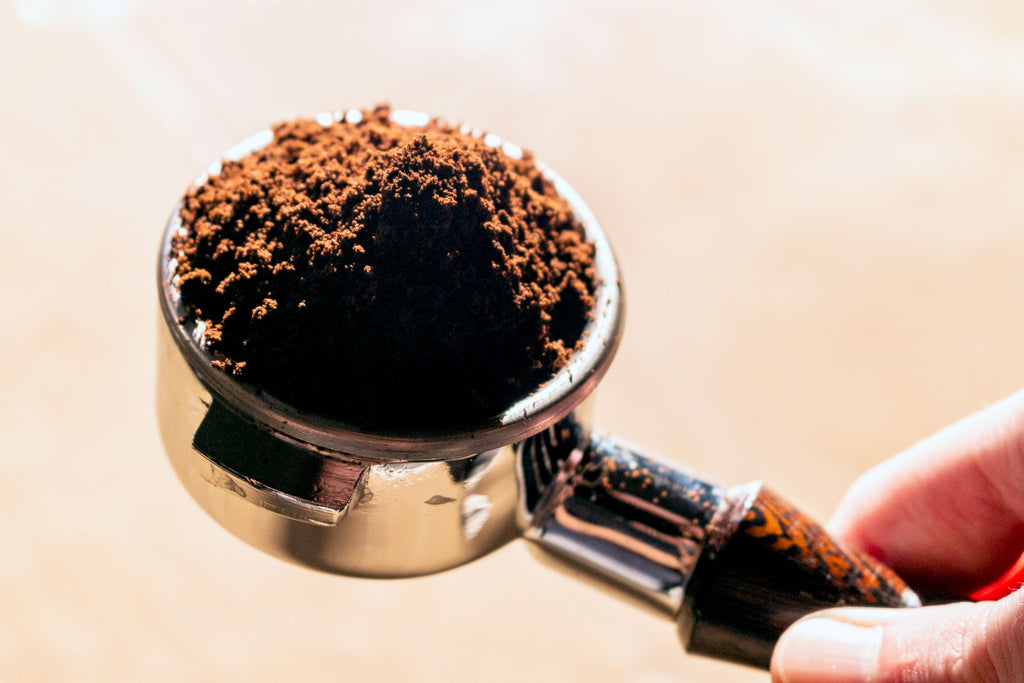
The most popular methods are single-dosing timed dosing, and weight-based dosing. The espresso grinder you have will be optimized for one of these methods, but some can also be versatile, i.e., some grinders are time-based but can also single-dose. In any case, we recommend using a scale that can grind within half a gram so you know exactly how much coffee is going into your portafilter and how much liquid espresso is coming out. The best scales can weigh within a tenth of a gram, are water-resistant, and have lighting-fast readings like the industry standard Acaia Lunar. You do not need to spend an arm and a leg on a scale. Still, we cannot stress enough how crucial a scale is to improving your overall espresso experience and helping you troubleshoot much faster.
Option 1 (Single Dosing): Single dosing is adding the number of beans needed for one drink at a time. Many grinders are optimized for single dosing, such as the Eureka Single Dose & the LUCCA DF64. These grinders have smaller profiles and extremely low grind retention.
Most importantly, switching between coffees is much easier if you’re an experimenter.
Some grinders that are not single-dose specific can single dose, like the Eureka Mignon Specialita & the Eureka Atom 75, can do both single-dosing and timed dosing. With grinders meant to be used with a full hopper of beans, be aware that single dosing requires a finer grind, and it takes longer to grind the coffee because there isn’t weight in the hopper pushing the beans through. But the advantages are that beans can be stored in an airtight container (instead of going stale in the hopper), and it’s possible to switch from one coffee to another more easily.
Option 2 (Time-Based Dosing): Putting beans in the hopper and grinding by programmed time simplifies the routine over single dosing. Again, when dialing in your grinder, it’s helpful to have a scale to be more precise and get more consistent results. Many grinders have the option of timed grinding, and we’d recommend your first step be to set a grind time that dispenses the amount of coffee that you want in the portafilter. For the double espresso basket used in most spouted portafilters, we recommend 18 grams of coffee. For the triple baskets used in bottomless portafilters, we recommend 20 grams.
Option 3 (Weight-Based Dosing): This grind style removes the need for a scale to measure your portafilter and beans. Grinders like the Baratza Sette 270wi, Eureka Mignon Libra, and the Atom 75 W excel at this with spot-on weights within 0.1-0.5g sway on average. We still recommend using a scale to measure your espresso output.
Step 2: Grinding for the first time
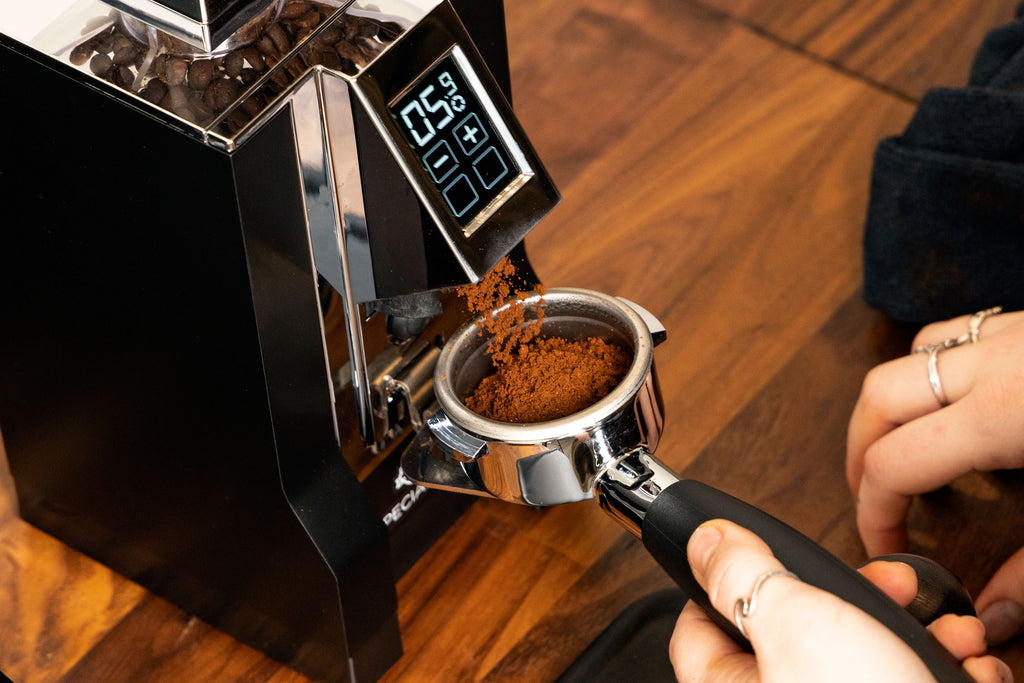
Try your grinder’s factory setting before adjusting. If no grounds come out, make sure the grinder's hopper tab is pulled out! If it is, follow the troubleshooting process below. Tare your scale (if available) with the empty portafilter on top. Set your grind time to dispense the preferred amount of coffee or grind manually until you have the desired quantity. Verify your double dose has 18 grams of coffee, or your triple dose has 20 grams. If your dose changes by a gram or two, this can have the effect of making a big adjustment to a grind setting (shots speed up or slow down), so the scale helps solidify your routine until you feel confident.
If you activate the grinder and no grounds are being dispensed, gradually adjust the grind coarser (while the grinder is running) until a stream of coffee starts to flow out. If you get lost, you can easily find the grinder's zero point and adjust backward from there. This video guide is for the Eurkea Mignon series of grinders, but the principal is the same for most espresso grinders.
Step 3: Pulling your first shot
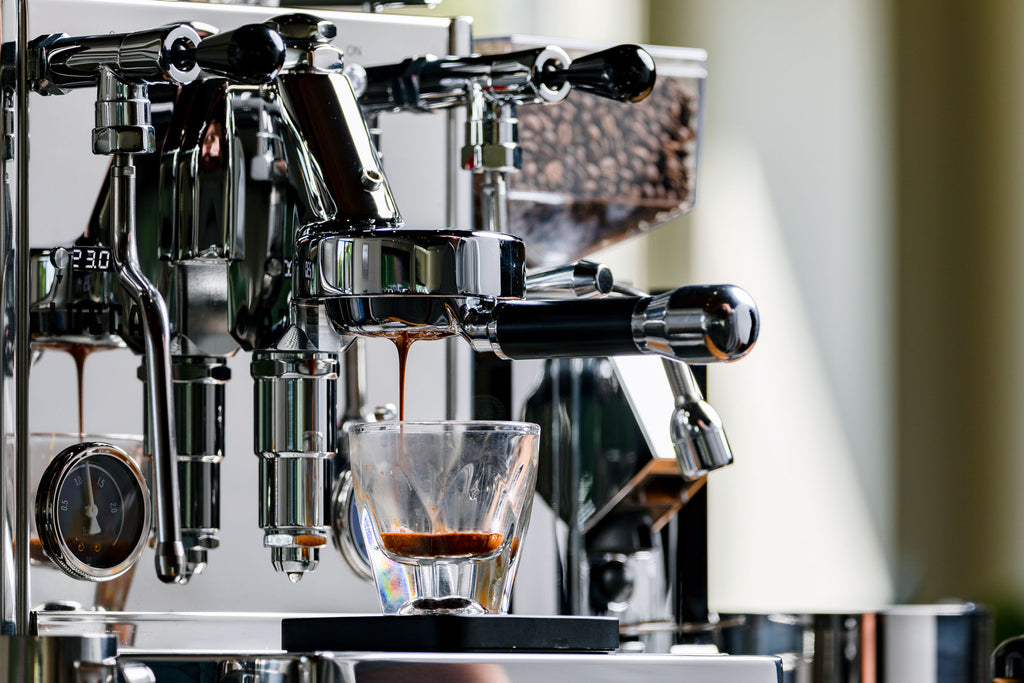
When grinding your first dose, especially when using timed dosing, the first dose you grind will typically be much less or more than your desired dose. This is normal, so go ahead and toss that first coffee. Make sure that your portafilter basket is clean and dry. Next, after grinding into your portafilter, ensure that the coffee bed is evenly distributed as possible. You can do this with your index finger or use distribution tools like WDT tools or the BT Wedge by Saint Anthony Industries. Use your finger to gently sweep the coffee up, down, left, and right. Ensure your tamper is level, and apply medium pressure (not too light or heavy). Consistency is more important than the exact force. Start your shot and your shot timer simultaneously, and track how long it takes to get between 25-40g of liquid yield. The goal is a total shot time of 25-35 seconds, starting when the pump is activated. We want to give ourselves a large range because a few grams more or less or even just a 1-second difference can make a huge difference. For instance, If your shot reaches 40g in less than 20 seconds, it can be sour, lacking body (under-extracted). If this takes over 50 seconds, it can have an excessive body with muddy flavors (over-extracted).
Step 4: Dialing in your grind
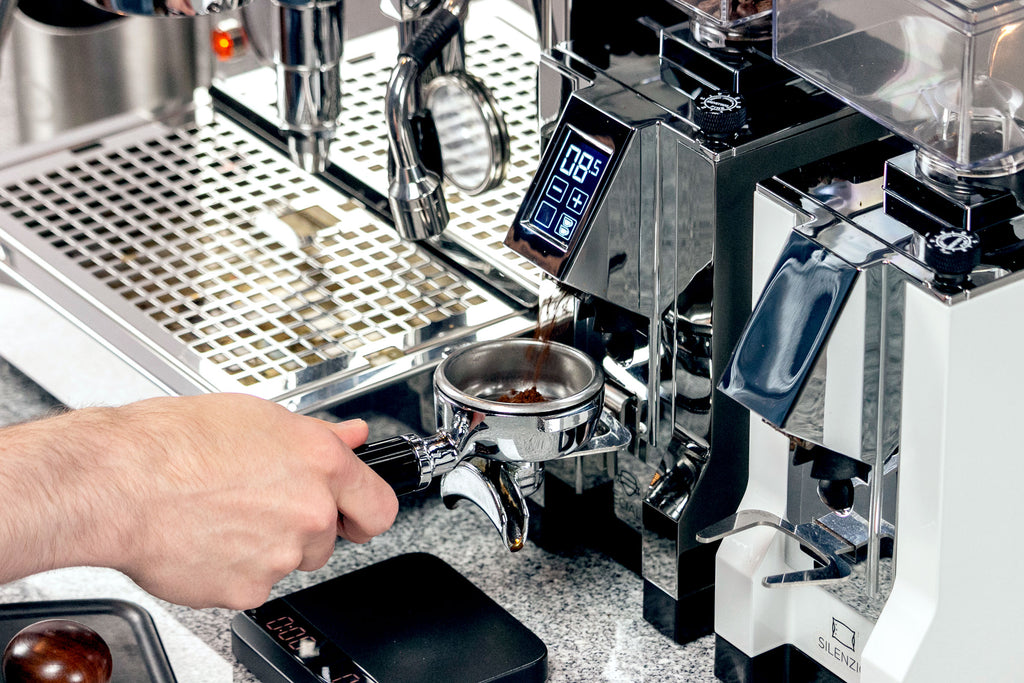
If your shot takes less than 25 seconds, the grind must be adjusted finer. Keep your dry dose in your portafilter the same. Keeping as many variables constant as possible and making one tweak at a time is key. You may need to adjust coarser if the shot takes more than 40 seconds. It’s important to make gradual adjustments and remember that changes don’t take effect immediately (there will still be some coffee remaining inside from your last shot that needs to be purged). Worm drive adjustment is very slow, so making a half-rotation adjustment to the knob may seem to have no effect (so, at first, you may want to start by making full rotations or more). Micrometric adjustment or infinite adjustment dials can make significant changes quickly; thus, incremental adjustments (a quarter number turn or a half number turn) will significantly change. Whichever type of grinder you have, remember that only by experimenting gradually will your grind adjustment become intuitive. Keep your scale handy, and track how much the adjustment translates into the time of the shot. Once the shots are consistently 25-35 seconds, you should only have to make minor occasional adjustments to keep them in this range.
Espresso Recipe Recap (using a 1:1.5 ratio)*
| Portafilter Size | Coffee IN | Liquid Espresso OUT |
|---|---|---|
| Triple Basket (Bottomless) | 20 grams | 30 grams (~1.5 oz) |
| Double Basket (Spouted) | 18 grams | 27 grams (~1 oz) |
* Please note that this recipe is just a starting point that we recommend. Once you get comfortable with this, we suggest playing around to perfect it to your taste. Like your coffee a bit stronger? Maybe try a 1:1 to ratio. Or not so much? Try a 1:2 ratio.
Okay, so now you're ready to practice. This video on How to Pull the Perfect Shot of Espresso breaks it down nicely.